Colour chemistry 2: photography and chromatography
Photography
The section on Optics in this resource explains how cameras work to project an image into the device using lenses and a camera obscura. In digital devices, the image is captured and saved as a digital image file, but originally, in traditional photography, the image was captured and fixed onto a light-sensitive film, which could then be used to reproduce multiple images.
Converting the image that appears in the camera to something that is printed on paper requires multiple chemical processes. An introduction to chemical photography is explained here…
Black and White photography
Black & white photography was invented before colour photography. It involves the use of light-sensitive silver halide crystals that form an emulsion on celluloid or plastic film with gelatin (originally, glass plates were used). The energy from the light waves that enter the camera and hit the film causes a chemical reaction with the silver halide. Creating silver halide crystals for photographic film is a complex chemical process making them photosensitive to all visible wavelengths of light.
The more light that comes into the camera and hits the light-sensitive film, the greater the reaction in the silver halide crystals, which creates silver ions. The grains of silver halide create an image by reacting to the different amounts of light hitting different parts of the film and creating different quantities of silver ions. However, you can’t see the image on the film until the film is ‘developed’ because it’s still light-sensitive and the image is not yet stable.
Developing photographic film is another process where chemicals are used to turn the silver ions into silver metal – more light produces more silver and a darker, opaque area on the film. Less light produces a more transparent area on the film. This process creates what we call a negative image – light parts of the image appear dark and dark parts appear light. Once the film is developed, the chemical processes must be stopped and fixed so that the silver halide crystals are removed and only the silver metal is left. Once developed, you can take the film out into the light and see the negative image.
So how do we create a positive image from the negative film? Another chemical process is used with light-sensitive paper, which also contains silver halide crystals held on the paper with a gelatinous emulsion – like the photographic film.
A white light is shone through the negative film onto the paper, activating the silver halide to create more silver ions on the paper. You can’t see the image on the paper until it is developed in a bath of chemicals that turn the silver ions into silver metal – which oxidises and shows up as dark areas on the paper. The process is then stopped and fixed – just like the film. This is how we get a positive image on a photograph – the clear areas on the negative let more light through and create darker areas on the paper. The dark, opaque areas on the film let less light through and therefore create lighter areas on the photographic paper.
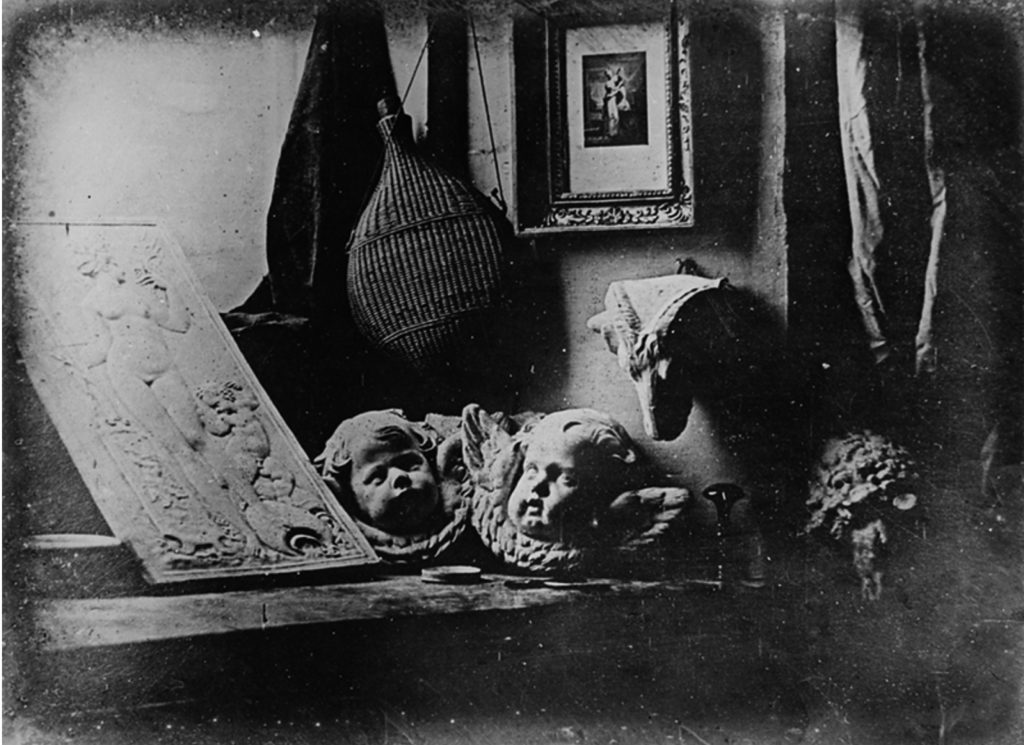
Learn more about the history of photography and Daguerre(Figure 2.33) who was one of the first photographers to create stable photographic images.
Colour photography
Colour photography is more complex than black and white. It is a subtractive colour process. Colour film uses silver halide just like black and white photography, but the colour film has three layers of emulsion, each with a different light-sensitive dye mixed with silver halide that is sensitised so that each layer only captures either red, green or blue light. To create a colour negative image, the dyes form the complementary or opposite colour:
- Red-sensitive layers have cyan-coloured dye.
- Green-sensitive layers have magenta-coloured dye.
- Blue-sensitive layers have yellow-coloured dye.
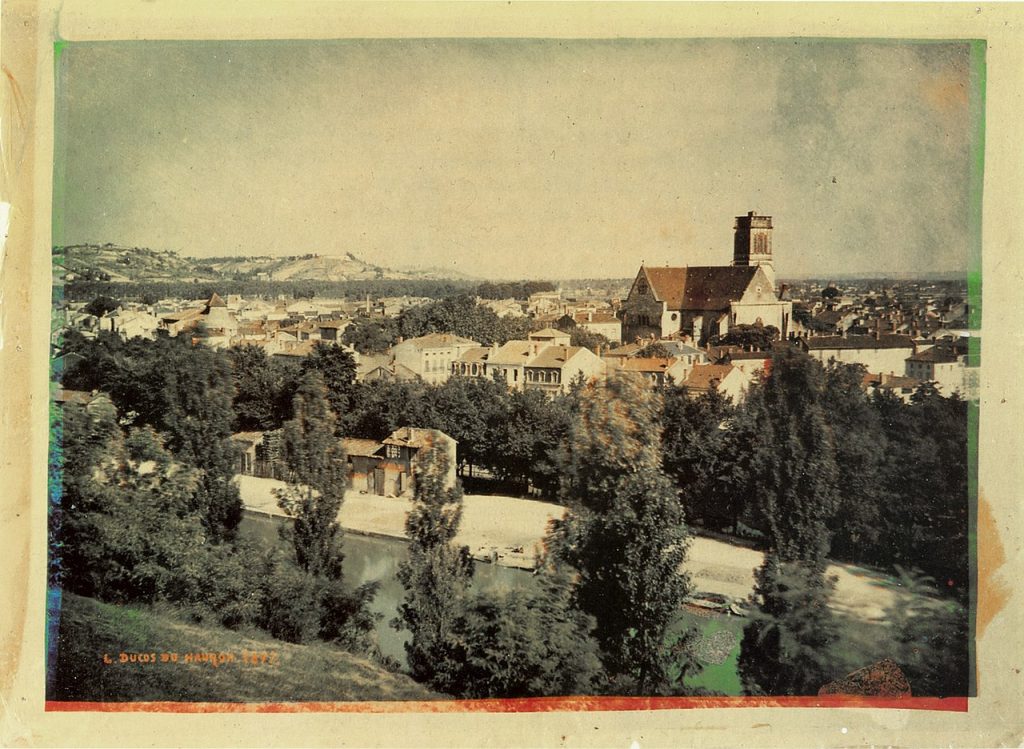
The film is developed, and the silver halide is removed in this process, leaving only the coloured layers on the film. Printing to colour photographic paper is a similar process to printing black and white, turning a negative colour image into a positive colour image, but the paper has three layers of emulsion, just like the colour film, sensitive to red, green and blue light, which creates a chemical reaction turning the dyes into cyan, magenta and yellow dyes (Figure 2.34).
Note: there are also special colour films that create a positive image instead of a negative one, and these were used in slide projectors – a technology not often seen today since the advent of digital photography and projections.
Learn more about the history of colour photography.
Chromatography
Chromatography is a chemical process that is used for separating the different parts of a mixture – a liquid or gas substance that has multiple ingredients. The name means ‘colour writing’ from the Greek words chroma and graphe. This process was originally used to separate different coloured pigments that were all mixed together – a technique also used to create coloured dyes for making textiles and carpets.
Chromatography today isn’t specifically about separating colours. It’s used to separate all kinds of substances.
The way it works is by dissolving the mixture in some kind of solvent which could be gas or liquid – the mobile phase – and then using another material which could be a liquid or solid – the stationary phase – to separate the parts of the mixture. Because the different substances in the mixture travel along the stationary phase material at different speeds, they get separated from each other and form different bands.
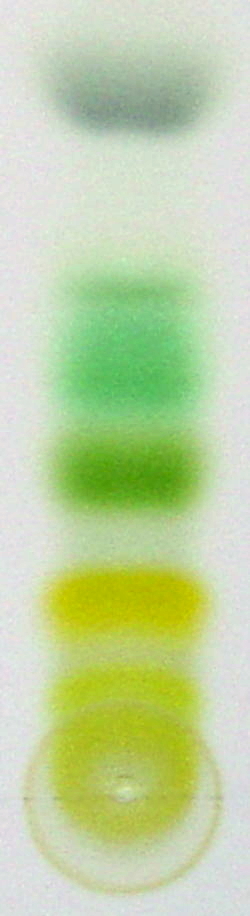
If you’re trying to separate colours from a liquid mixture by using paper, for example, you would see different stripes of colour appearing as some colours move faster along the paper and so move closer to the top, and others move more slowly, so remain closer to the bottom – like a rainbow of different coloured stripes. Figure 2.35 shows an example of this using paper and a liquid solution to show the chromatography of chlorophyll.
A very simple way to see this process work is to use black ink (the mixture), water (the solvent) and absorbent paper (the stationary phase material) to separate the colours from the ink mixture. See the activity details below – you can try this experiment at home.
Learn more about chromatography:
Activity: paper chromatography experiment
You can make your own science experiment at home with a few simple materials to see how chromatography works in practice.
Watch this video for details and try your own experiments:
To learn more about subtractive colour, see 3.1 Additive and Subtractive colour in this resource
